Hiển thị các bài đăng có nhãn Quilled flowers. Hiển thị tất cả bài đăng

Thứ Sáu, 26 tháng 6, 2015

Salam Aidilfitri pop up spiral card

HR028

OK! So here's what happened. Some time ago, I had received some really pretty card stock that I got from a good friend of mine. I'm not really sure what they were for, they looked like wedding invitation card stock or something. I never asked her what it really was. It has this really pretty gold lining on all sides and twin gold heart shape on it.

You can see what it looks like in the photos below. Anyways, I have been wanting to use them for something but didn't have an idea back then of how to use them until recently I came up with the idea to recycle them as Raya cards. It doesn't necessarily need to be a Raya card. It can be used as any type of card for any occasion. But I decided to put a Raya sentiment inside so that I can use it myself to give to my loved ones this year. :D


On the inside of the card, once it is folded, you can see like an impressed image of the twin hearts....I really love it! So even though, I don't get to use the twin gold hearts on the outside as part of the decoration on the card, at least I get to see it on the inside.


Oh yeah, one more thing....I got this beautiful pattern papers from her as well. The papers are actually paper scraps that I received in different sizes. I couldn't use them for big projects, so I thought the idea of cutting them this way like small size washi tapes and pasting them on the card as a background design would be a great way to recycle them. I don't have a lot of washi tapes, so using scraps of pattern paper such as this in this technique would be great! And it's so simple too!


The Malaysian quilling flower! Gosh, I haven't been making these in ages! So it was a little awkward trying to make them again after a while, but I quickly got the hang of it after a few tries. They are so much fun to make and pretty too. Definitely not that difficult to make either. You can find a tutorial on how to make them on my YouTube channel and give a go if you are interested to make them yourself.

 
See all those teeny tiny paper dots?? Those are paper dots that I got whenever I use one of my craft punch. I was reluctant to throw them away and they make great background decorations if you know how to use them :).


These are some spiral pop ups I made for the pop up that I plan to paste inside the card. They are probably one of the easiest pop ups that I can make. Simple and fun to look at. :) Once I've cut them up, all that was needed to do was to just past the spiral pop ups with flowers and sentiment. I really enjoyed making this card as I can to recycle all the materials that I had in my craft room. I don't like keeping scraps of papers or card stocks in the room for too long. Need to make way for new materials and have fun experimenting with new ideas. Do check out the video of the card below. You can have an idea of how the spiral pops up inside card! :)


Thứ Bảy, 30 tháng 5, 2015

3 tier pop up birthday cake card

HB124

Just recently I made a handmade birthday card for a good friend of mine whom I've known for many years. We were room mates when we were studying in ITM. I had wanted to do this for her for quite a while now. Planning and planning but the plan didn't work out as it should and in the end I had to post the card to her instead of giving it to her by hand. I guess God had something else planned for me on that day. I'll just have to make another plan! haha! :D What matters is that she loved the card so much and that really is all I could ask for. To make her happy even if it was just for a day :).


OK! Back to the card! I came across some really nice DIY pop ups at a stationery store recently and I was really excited about it since I love pop ups so much. I never knew they sell these things! I've never seen them before. So you can surely imagine my excitement. Hahaha! Unfortunately, the choices that they had were quite limited. I wish they had more.

Usually I would make the pop ups myself from scratch but I thought it would be nice to once in a while use a ready made one instead for my handmade cards. It's so convenient especially if you are in a hurry to get a card done for someone's birthday. You can also add some personal touch to it if you like to make it different from the original design. But if not, you can just use it as it is.

It was not that difficult to fit the pop up birthday cake in my handmade card as I am quite familiar with the mechanics of the pop up. So it was easy peasy for me. Besides, they do have some photos in the package that explains how to fit the pop up inside the card. 

I also did something I've never done before with quilling flowers. A difference in technique in this case. Usually when I add more than one colour to each petal, it's mostly done using the combing technique.....but for this one I used the slotted quilling tool instead. Perhaps I should consider making a tutorial on how to get that effect on quilling flowers and leaves. If there is a demand for it....or not....I just have to find the time to do it. :)

Another different thing I did was sewing all around the decoration with multicoloured embroidery threads. No cross-stitch this time....just plain straight line. That was really fun! It created a texture on the card and a colourful background that would match the decorations. The gold painted soft clay that was pressed with a birthday sentiment was something new for me to experiment on with what I can do with soft clay. It reminded me of what I used to do with real clay back when I was studying ceramics. Gosh I missed it all so much!

Do check out the pop up birthday cake at the video below and you'll be able to see how it pops up in the card. :)


Thứ Năm, 21 tháng 5, 2015

Seven flowers pop up birthday card

HB123

Way back in 2009, I made my first 7 flowers pop up. It was for a Chinese New Year card. I remembered how excited I was to see all the 7 flowers pop up each time I opened the card. I felt as giddy as a school girl. Back then, in my mind I thought that this pop up was the most difficult of all to make. But now I know, there are others types that are much much more difficult to make compared to this one.

There were little flowers and leaves added to the 7 flowers pop up to make it look like a bouquet of flowers. I didn't want to leave it plain and simple. I just had to add other things to the flowers to make it look more fancy. What do you think? Did it work? heheheheh!!!

I guess that this is the first time for me to use the Teary Loop flowers for my handmade card. I made a tutorial on how to make the flower long time ago and uploaded the video on YouTube, but never used them for any of my cards until now. In the tutorial, I made a small version of it, but for this card, I made the small and large version of it combined as a flower. I like the way it looks, either single or double.

The previous birthday card I made had cross-stitch on it too, where I used 4 different types of colour threads. In this one I only used two colours but had them stitched side by side. I love this idea and will probably use this idea for future cards. The cross-stitch took such a long time to sew on the paper but at the end of the day, the results made me so happy. 

Another thing I would like to mention here is the gold frame that I added to the card. I made it myself using a hard board. After cutting it up, I painted it with a gold colour to make it look fancy. I framed the washi tapes and patterned paper with this frame and decorated it with the flowers and sentiments. The rhinestones simply added some bling bling to it and made it look fancier than before. I just love how it all turned out.

This birthday card was made for someone who is very dear to me. I really hope she likes it. I know that she looks forward to receiving my handmade cards every year, but I sometimes don't have the time to make one for her. I'm so happy that this year, I can. Hey, even handmade card designers have problem sending cards to their loved ones, I kid you not! Hahaha!!

Do check out the video of the card below so you can view how to flowers pop up inside the card. Enjoy!

Thứ Sáu, 1 tháng 5, 2015

Double star loop flower pop up birthday card

 HB122

The pop up craze and cross-stitch continues. Not to mention the washi tapes and soft clay too. I guess, you'll be seeing those things a lot in my future designs.....well at least for the next few weeks until I get a little bored using them for my handmade cards. Hehehehehe!!

I've been making a lot of the smaller size cards lately and for today I wanted to share a bigger one for a change. It's not that big though, just half the size of an A4 paper. I started with sewing the cross-stitch all around the edge of the card to form a frame for the decorations. I used 4 different types of red colour embroidery threads. I love the effect it gives compared to using just one type of colour.

The polka dots washi tapes was then lined up with the patterned papers, birthday sentiment, quilled flowers and leaves, and lastly touched up with the rhinestones. I made those double star loop flowers long time ago. But only now do I use them for my design. The flower itself is so tedious to make. Takes such a long time to complete one flower. I guess that's why I never used them before. I do have a tutorial on how to make them if you are interested to try. Check out the video below:


I've always wanted to make this type of pop up technique for my cards. It's not that difficult to make either. I like it a lot because I can paste so many flowers together and not worry about any of them bumping into each other whenever the card opens and closes. Basically, you can use all sorts of subjects to pop up with this technique. I'll definitely make more of this type of pop up in future now that I know how to do it. :) Do check out the video of the completed card at the video below and see how the pop up flowers spread open like a fan when the card opens up. Hope you all like it! :) Enjoy!

Thứ Ba, 6 tháng 1, 2015

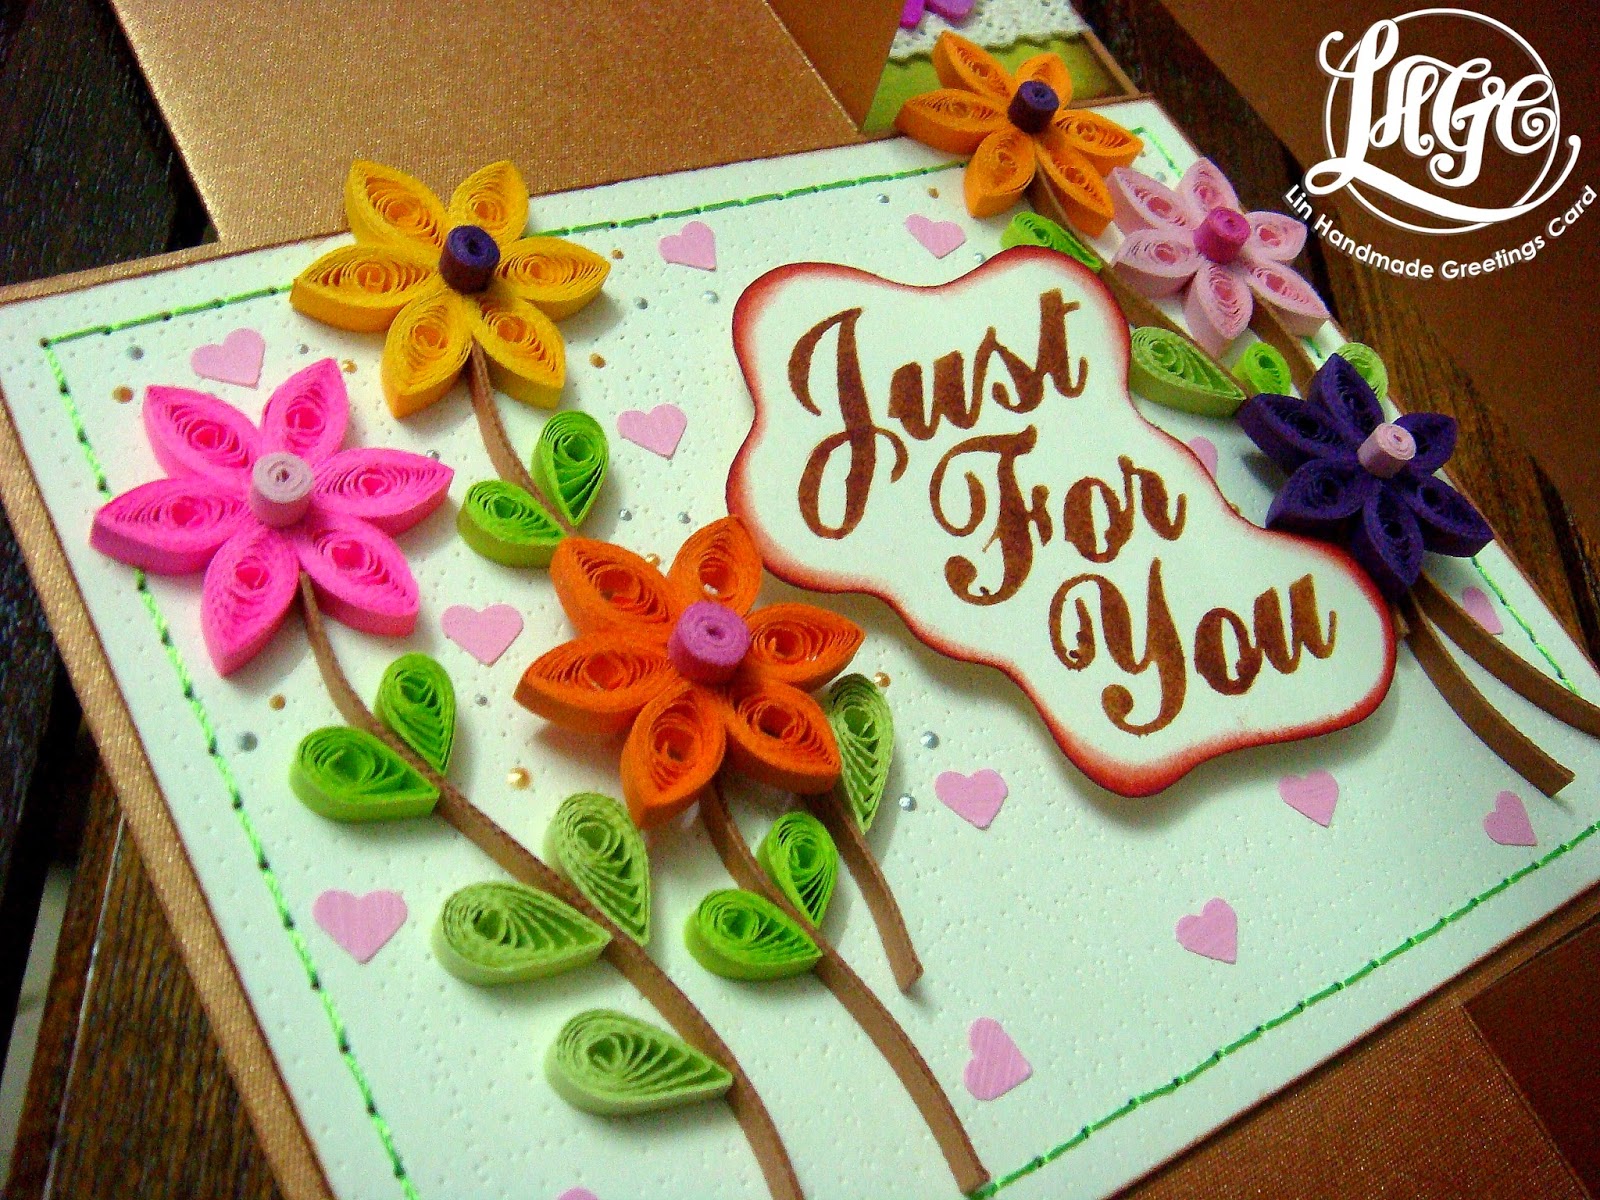
Just for you on this new year :)


Hope it's not too late for me to wish a very Happy New Year to everyone!! How's the new year been for everybody so far? Really good I hope....at least for me it's been a good start. I want to do my best to focus on good health and enjoying life as it comes. Don't want to stress myself too much. Last year was a really stressful year for me. So for this year, hopefully, more fun will come my way :D.

It's been a while since I last posted a handmade card design on this blog. I kept posting too much of handmade books. So I'm excited today to share a new card design here for the first time this year. It's a simple swing card design with a simple quilling flower arrangement on the front cover.

I haven't been quilling that much last year. Just some small projects done on quilling because most of the time I would be spending on making quilling starter packs instead. So it was a little exciting to do the quilling flower arrangement even though it was a simple one.

I love the huge wooden button because the design on the button was perfect for the pattern paper I chose for the card. It was a perfect match! It's not always that you can find two patterns of different material that compliments each other really well. So I had to add that button to the card. :)

I really like the olive green colours and how it combines really well with brown and other warm colours of the pattern paper. It gives a warm fuzzy feeling to it. This card can be used as a birthday card or a card for any occasion for that matter. And quite suitable to be given to a girl or a lady :).

More cards coming soon in shaa Allah......:)

Thứ Ba, 26 tháng 8, 2014

Green theme quilled wedding signage

WS002

Alhamdulillah....thank you Allah for blessing me for the strength and energy to finish this project. I'm so thankful too to get a customer who is so patient and understanding. For her kind patience, I am able to finish this order in time before her wedding day which is coming soon this week.


I admit I am pretty late at completing this order, but still I'm glad I did it before the due date. You have no idea how I had to struggle to finish it. I haven't been quilling for more than 2 months and it was kinda awkward to start again. Felt a bit rusty hahaha.....but after a little practice I was ready again to start the project. 

This design for this wedding signage was actually inspired by one of my swing cards that I did this year. You can view it at the link HERE. My customer just loved the design so much and wanted me to use the same design for her wedding signage. 

The original design on the swing card, you can see that the leaves were made from die-cut patterns. So since she loves quilling so much, she wanted me to do the leaves using the quilling technique. I've never done something like that before....so it was fun to be able to try that. And I love the outcome :).

All in all, I'm really glad I did this project no matter how I felt. Not sure when I will be quilling again though....because I'll be busy after this with sewing beads project! hehehe! Yes....it's a little wedding project that I was entrusted to do for someone. Will do an update on it probably on my FB page.....will see how it goes. ;)

Here is a photo of my customer and her husband on their wedding day with the wedding signage I made....photo was taken by Zulhilmi Photoworks....click on the link to see their other beautiful wedding photos ;)

Thứ Năm, 3 tháng 4, 2014

Green flora theme swing card

HB117

Hmmm where do I begin? I guess it's been a while since you last saw any new handmade card designs from me....the last one was probably the swap card I made for a fellow crafter last month. I've been busy making hand-bound books instead of making handmade cards. It felt a little difficult to start creating cards again because I left the arena for quite awhile to concentrate on other projects that involves mass producing craft materials for sale. Well, I've put that one aside for now so that I can concentrate on making cards again. I miss creating cards....I really do.

My customer gave me the freedom to design the card anyway I like except that there were a few conditions which was she wanted the card to have some quilling designs on it and she would prefer the card to have a green theme. So green it is!! It's 90 percent green and 10 percent, a combination of brown, gold, beige and yellowish tones.

It's been awhile since I last made any quilled flower like the ones you see on the card. I adore it very much. I hope to make a video tutorial on how to make them soon. Because I am afraid if I don't, then one day I might forget how to make it altogether! hehe! When I wanted to make them for the card, I had a hard time remembering how to start! Thank God I remembered it in the end after a few trials. ;)

Oh ya....not forgetting those ladybugs! They are so much fun to make. So cute. I will do a video tutorial on that as well this year. Gosh, so many video tutorials that I wanna make. Hopefully I can do them well :).

Oh! And another thing I would like to mention is those die-cut leaves.....oh how I love them so.....it's actually one of the three leaf patterns from a die-cut I recently bought when I went for the craft gathering. It's so worth it. It's a bit difficult to use but I can't help but love the design. So it didn't matter much to me. I'll learn to deal with it in time. 

I made a simple design for the wordings on the front of the card.....not much designs there....just arrangements of alphabets and liquid pearls on paper that was layered with distress ink. I love sewing on the paper to give it a more special touch.....that's why I also did the same for the paper that was meant for writing wishes inside the card. I really love that one. A special stencil that I bought to get that special shape....inking the lines and sewing around it in the end. It was fun to do!

All in all, this was a fun card to make, especially since it is a swing card. You can never feel bored with a swing card. ;)

Have a look at how the card swings in motion in the video below:

Thứ Ba, 26 tháng 11, 2013

A gift for an old friend

HBB003

My Mom requested me to make a special birthday card for her friend who will be celebrating her birthday today. But I decided not to make her a card, I made her a Japanese hand-bound book instead! hehe! Since I'm really into it right now, so I thought it would be nice to make one for her since I know how much she appreciates craft work so much.

I used another one of the Japanese pattern paper that I got from Wholeport.  I love the colours and the design of the paper a lot. I didn't want to keep the cover empty, so I decorated it with a simple quilling flower design on it with a die-cut pattern design on the background. I like the colour of the flower because it's a combination of two different colours, which is red and maroon.

I used to love making beaded bookmarks a lot.....I got so many beads in my collection, so I'm glad I can use them when making this hand-bound book. It's nice to get to do it again even though it's just a simple one for this book compared to the more complicated ones I've done before.

I'm so glad my my Mom's friend loves the book so much. She already has plans on what to use it for. And I'm so happy to know that it's for something good. Alhamdulillah. I managed to make one more person very happy today. ;)