Hiển thị các bài đăng có nhãn Quilling. Hiển thị tất cả bài đăng

Thứ Tư, 30 tháng 9, 2015

How to make a two tone quilling teddy bear


I've been thinking of making a video tutorial for a quilling teddy bear this year but I wanted the design to be different from the quilling teddy bear I've made years ago. So after taking such a long time to practice making and redesigning my quilling teddy bear for the past few weeks, I'm finally satisfied with the new design.

As you all know I have made quilling teddy bears before way back in 2010. Back then, the quilling teddy bears that I made were a bit bigger and mostly were brown in colour. Later after that I did make smaller ones but they were simpler, with loose coils and had faces that didn't even have any eyes or lips.

But for today's design, although they are small, but it's combination of the big and small quilling teddy bears.  Also, I've added something new to my quilling teddy bear design especially for the face and body. If you take the time to look at my older quilling teddy bear designs then you will be able to see the differences between the old and new. 

A lot of people have been asking me to make a video tutorial for my quilling teddy bears over the years but I never got around to doing it till now. So I hope that this video tutorial will make a lot of people happy :).

As promised, below are the measurements for the two tone quilling teddy bear:
I am using 80gsm quilling papers to make my two tone quilling teddy bear. The quilling papers were made by cutting up an A4 colour paper using a mini paper shredder. The size of each strip of paper is 3mm x 297mm.

1. For the face:
    - 5 quilling strips
    - Circle number 7

2. For the body:
    - 11 quilling strips (5 strips of soft cream colour + 6 strips of any colour).
    - Circle number 11

3. For the hands and legs:
   - 1/2 strip of any colour + 1/4 strip of soft cream colour.
   - Circle number 5

4. For the ears:
    - 1/4 strip of any colour + 1/4 strip of soft cream colour.
    - Circle number 3

5. For the cheeks and nose:
    - 1 strips of soft cream colour, cut in half and joined together + 1/2 of the 1/4 strip of black colour.
    - No need to use a circle template for this. Just roll the strips to make a tight coil.

6. For the eyes:
    - 1/2 of the 1/4 strip of black colour for each eye.
    - No need to use a circle template for this. Just roll the strips to make a tight coil.
    - Paste on top of each eye a tiny white paper dot.
    - Then finish it by pasting on top of the white paper dot with an even tinier black paper dot.
    - The tiny dots were made by using a Martha Stewart craft punch.

7. For the lips:
    - I hand cut the shape of the lips using a craft knife.
 
Do enjoy watching and learning how to make the two tone quilling teddy bear from my video tutorial below. Have fun quilling!! ;)


Chủ Nhật, 20 tháng 9, 2015

Little pink and green notebooks


The first time I made mini notebooks was sometime last year. I thought I would make more after that but never really got to making any because was too busy diving into other projects. These little notebooks I made here was kinda made in a hurry because it was not something I planned to do. It's one of those spontaneous things I do sometimes for those I love.

These were for my cute little nieces. They dropped by yesterday and I had to make something for them before they went back to their hometown. I just couldn't let them leave empty handed. I have always wanted to give them something that I made myself. It gives me a lot more satisfaction than buying something from the store.

I'm so glad that they loved their gifts. Although it's just a small little gift, it's the thought that counts, some would say. They were really careful with the notebooks. Opening them up slowly and gently. They appreciate art very much and hopefully someday I'll get to teach them a thing or two about quilling. Then they can make art for others too. :)


Thứ Hai, 14 tháng 9, 2015

Rainbow coloured handmade slotted quilling tools


I made these rainbow coloured quilling tools about a week ago and I just love how they turned out! The tools were of course handmade by yours truly. I'm really happy with the latest look of my handmade slotted quilling tools. They are so cheerful and bright. I think I am now better at making them compared to the first try. There is always room for improvement. :)

I hand coloured all the rainbow coloured quilling tools instead of using pattern paper like I did for the black gold quilling tools. Although this rainbow quilling tool takes a little bit more time to make, I really enjoyed it. It was a good experiment. I'm glad it worked out.

After making these rainbow quilling tools I began to experiment more with other designs and it's just endless. There is just so many types of designs that I can insert in the quilling tool. But I guess for now I have to limit the designs to just making them for personal use because it's not as easy to mass produce them. I can only do a few of them a day. I'm not a machine. My hands do hurt in the process of making them.

For now, simple designs is all I'm concentrating on. Nothing overly fancy. Ever since I've been making these quilling tools, I hardly have the time to make handmade cards. It's so frustrating not being able to multitask as much as I want to. Hopefully I can make some cards soon. Or books! Gosh, I miss making the books the most!!

Do check out the video I made about the rainbow coloured quilling tools below and my new white glue bottle that I have added in my new quilling kit. Thank you!!


Chủ Nhật, 16 tháng 8, 2015

How to use my quilling starter kit


This is something that I should have done much much earlier for quilling beginners who have been getting my quilling starter kits over the years. Simply because not all quilling beginners have the idea of how to use the quilling supplies provided in my quilling starter kit.

I have gotten a lot of inquiries from them and most of the time I would just try to find suitable quilling tutorials on YouTube for them to see and the get the idea of how to start quilling with the supplies. Some would ask me to teach them instead and I would then do basic quilling classes for them. I haven't done so in quite a long time because I just never seem to have the time to spare these days for a quilling class. I have too many other things to get done everyday and to hold a quilling class would just take a lot of my time away.

I guess that's why I prefer to do video tutorials instead. This way, a lot more people would get the benefit from learning about quilling from me. No more do they need to see me in person and get lessons on quilling. They can just click the play button on the YouTube video and replay it as much as they like to. Free of charge! And I get to teach people through the videos anytime I like! So it's a win win situation. 

One most common issue that rises when it comes to using the quilling supplies is how to use the plastic circle template. Seriously I get that question A LOT! First of all, my circle template is not like the circle template quilling board most quillers would commonly use for sizing up their quilling paper. I use a plastic circle template that students use in schools to draw circles. It's not the same thing, but it helps quilling beginners to do quilling at a much reasonable price. The quilling board is quite expensive to buy. I myself still don't own one till now.

Another common question would be, how to glue the quilling shapes on the card. That's another common problem for quilling beginners. They cannot get a clear picture of how to apply the glue on the quilling shape correctly. They either apply too much glue or too little of them. So the quilling shapes don't look nice on the card.....sometimes very messy and that would spoil the look of the card.

Hopefully my not so short video would give them a clear idea of how to basically do simple quilling shapes and how to apply them on the card. I made the video quite late at night therefore my mind was not working as good as it should be if done during the day. Please excuse me for that! Haha! What's important is that quilling beginners can understand what was taught in the video and they can apply it fast. 

So do watch the video if you are a quilling beginner. Hope it helps a little!

Thứ Sáu, 7 tháng 8, 2015

My new handmade slotted quilling tool


I remembered what it felt like last year when I first got the idea of making my own handmade slotted quilling tools. I tried to DIY it all by myself. I felt like an inventor or something! haha! Although it was not the best invention ever as it had many flaws, I have to admit, I kept the dream alive and kept on experimenting on it. I didn't stop thinking of ways to make the invention better.

This year, after all the experiments I had done over the months, I finally created another handmade slotted quilling tool to replace the first invention. This one had a better grip, better handling and felt so comfortable when turning the tool over and over. Totally different feeling compared to the first invention.

The major difference in this one is that the plastic handle itself is not curved like the one before. It's almost as straight as any normal standard slotted quilling tool. So it makes it more comfortable when using it to quill. The handle is made of plastic but the filling inside the plastic has been replaced with a different material. The first invention had glitters and colourful beads in it. No more of those in this latest invention. One other good thing about it now is that I get to put my name inside the plastic tube too! Love that part! So those who buy the slotted quilling tool would know that it is handmade and who made it too :).

It was not easy for me to create something like this. I had wasted a lot of materials before I finally decided on the best method and design. Since the process of making the slotted quilling tool itself had to be done by hand, and not by any special machine, it takes time for me to get one done. It's a very interesting process and seeing the finished product gives me joy :). I don't think I will be able to mass produce the slotted quilling tools like other companies do as I am doing this alone and am not in the best of health. I'm just helping out those in need of affordable slotted quilling tools while I still can :). 

Actually the initial idea of creating my own slotted quilling tools came about when a lot of people contacted me to ask about where they can buy slotted quilling tools that is more affordable for them. Standard slotted quilling tools in the market can be quite expensive, especially if they are branded. But they are undeniably better in quality. Sometimes, it also depends on how good you take care of them too. If you abuse them, they will eventually lasts a short period of time even though they are good in quality. So be nice to your tools and they will last longer ok? hehe!

I have to admit that I was one of those people who couldn't afford those standard slotted quilling tools back then. So I know how it feels to want to buy a craft tool and yet have to reserve that feeling till I had enough money for it. I remembered how expensive my first slotted quilling tool was. I bought it at a fancy craft shop in Kuala Lumpur. Back then I didn't know much about quilling and only knew very little about it from my friends. I bought it anyways even though it was pricey because I knew I would never get the chance to buy it at my place. It is not easy finding craft tools here in Alor Setar.

I'm happy if my humble handmade slotted quilling tools can help people create beautiful quilling creations. That's all I ever wanted. To see people make pretty things without having to spend so much money. Quilling in my mind now is a craft that everyone can try to do. Everyone can afford to try it. There are numerous of ways you can find on the net to do it with or without a fancy quilling tool. You just have to keep the dream alive, believe in yourself and be creative in creating beautiful things. :)

Here's a video below to show you the slotted quilling tool in action and how well it works. Thank you for watching!! :)


Thứ Ba, 21 tháng 7, 2015

Quiling fan flower tutorial


I was just playing around with my quilling papers the other day, thinking of a new quilling flower for me to make. I guess I was getting bored of doing the same kind of quilling flowers for my cards. So I just needed a new quilling flower to try out. Something simple to do, nothing complicated and yet interesting enough for me to get excited about. But I wanted to make something I can call my own instead of making something that is taught on YouTube.

When I was in the process of making this quilling fan flower, I was actually inspired by a certain type of quilling flower I saw on the net. It was so beautiful. When I made the video tutorial for it, I wanted to mention the name of the flower that inspired me but I forgot the name. Now I remember! It was the quilled poppy flower made by Manuela Koosch. The quilled poppy flower she made was stunning!! I can't imagine making a quilling flower like that just yet. It must have been really difficult to make and time consuming too!

My flower however is of course not a poppy flower at all. But the petals of my quilling fan flower have those straight lines that are similar to the lines made in the quilled poppy flower. My lines are the same length unlike the lines of the poppy flower. SO that's one of the major differences.

Anyways, I do hope you will check out my latest video tutorial below. Learn to make a new flower today! :)


Thứ Sáu, 26 tháng 6, 2015

Salam Aidilfitri pop up spiral card

HR028

OK! So here's what happened. Some time ago, I had received some really pretty card stock that I got from a good friend of mine. I'm not really sure what they were for, they looked like wedding invitation card stock or something. I never asked her what it really was. It has this really pretty gold lining on all sides and twin gold heart shape on it.

You can see what it looks like in the photos below. Anyways, I have been wanting to use them for something but didn't have an idea back then of how to use them until recently I came up with the idea to recycle them as Raya cards. It doesn't necessarily need to be a Raya card. It can be used as any type of card for any occasion. But I decided to put a Raya sentiment inside so that I can use it myself to give to my loved ones this year. :D


On the inside of the card, once it is folded, you can see like an impressed image of the twin hearts....I really love it! So even though, I don't get to use the twin gold hearts on the outside as part of the decoration on the card, at least I get to see it on the inside.


Oh yeah, one more thing....I got this beautiful pattern papers from her as well. The papers are actually paper scraps that I received in different sizes. I couldn't use them for big projects, so I thought the idea of cutting them this way like small size washi tapes and pasting them on the card as a background design would be a great way to recycle them. I don't have a lot of washi tapes, so using scraps of pattern paper such as this in this technique would be great! And it's so simple too!


The Malaysian quilling flower! Gosh, I haven't been making these in ages! So it was a little awkward trying to make them again after a while, but I quickly got the hang of it after a few tries. They are so much fun to make and pretty too. Definitely not that difficult to make either. You can find a tutorial on how to make them on my YouTube channel and give a go if you are interested to make them yourself.

 
See all those teeny tiny paper dots?? Those are paper dots that I got whenever I use one of my craft punch. I was reluctant to throw them away and they make great background decorations if you know how to use them :).


These are some spiral pop ups I made for the pop up that I plan to paste inside the card. They are probably one of the easiest pop ups that I can make. Simple and fun to look at. :) Once I've cut them up, all that was needed to do was to just past the spiral pop ups with flowers and sentiment. I really enjoyed making this card as I can to recycle all the materials that I had in my craft room. I don't like keeping scraps of papers or card stocks in the room for too long. Need to make way for new materials and have fun experimenting with new ideas. Do check out the video of the card below. You can have an idea of how the spiral pops up inside card! :)


Thứ Hai, 15 tháng 6, 2015

How to make a quilling ketupat


I have been getting requests to make a video tutorial on quilling ketupat since I first started making them in 2010. Gosh that was so long ago!! I've been postponing it for too long and I guess this year is the year to make it. Finally! 

Eid is coming soon in about a month's time so it would be a good time to make this tutorial now as many out there would benefit from it. I'm sure a lot of people especially from Malaysia who would love to make this quilling ketupat for their Eid cards.

Quilling ketupat? So how does one make them anyways? Well, for starters.....you would need some quilling papers or shredded papers. You can use any colour paper you like. But if you don't have the means to make shredded papers using the mini paper shredder, you can easily cut the A4 size paper length wise by hand to the size of 3mm x 297mm. You would also need white glue, a slotted quilling tool and a circle template. Just the basic tools.

The idea is to make small quilling squares about 9 of them per quilling ketupat and join them up together to form the shape of a quilling ketupat. The larger the ketupat you wanna make, hence the longer the quilling paper you need per quilling square. To make my quilling ketupat, I only used about half the length of the quilling paper to make one small quilling square. The frills at the top and bottom side of the quilling ketupat uses the same length of quilling paper to make them too.You can understand more on how to make them by viewing the video itself.

You can see examples of quilling ketupat cards that I've made in the past at the links below: 

1. http://azlina-lin.blogspot.com/2010/08/more-ketupat-cards.html
2. http://azlina-lin.blogspot.com/2010/08/quilled-ketupat.html
3. http://azlina-lin.blogspot.com/2010/08/quilled-squares.html

Below is the video tutorial on how to make the quilling ketupat. Do check it out and try making them yourself. Have fun! :)

Thứ Năm, 21 tháng 5, 2015

Seven flowers pop up birthday card

HB123

Way back in 2009, I made my first 7 flowers pop up. It was for a Chinese New Year card. I remembered how excited I was to see all the 7 flowers pop up each time I opened the card. I felt as giddy as a school girl. Back then, in my mind I thought that this pop up was the most difficult of all to make. But now I know, there are others types that are much much more difficult to make compared to this one.

There were little flowers and leaves added to the 7 flowers pop up to make it look like a bouquet of flowers. I didn't want to leave it plain and simple. I just had to add other things to the flowers to make it look more fancy. What do you think? Did it work? heheheheh!!!

I guess that this is the first time for me to use the Teary Loop flowers for my handmade card. I made a tutorial on how to make the flower long time ago and uploaded the video on YouTube, but never used them for any of my cards until now. In the tutorial, I made a small version of it, but for this card, I made the small and large version of it combined as a flower. I like the way it looks, either single or double.

The previous birthday card I made had cross-stitch on it too, where I used 4 different types of colour threads. In this one I only used two colours but had them stitched side by side. I love this idea and will probably use this idea for future cards. The cross-stitch took such a long time to sew on the paper but at the end of the day, the results made me so happy. 

Another thing I would like to mention here is the gold frame that I added to the card. I made it myself using a hard board. After cutting it up, I painted it with a gold colour to make it look fancy. I framed the washi tapes and patterned paper with this frame and decorated it with the flowers and sentiments. The rhinestones simply added some bling bling to it and made it look fancier than before. I just love how it all turned out.

This birthday card was made for someone who is very dear to me. I really hope she likes it. I know that she looks forward to receiving my handmade cards every year, but I sometimes don't have the time to make one for her. I'm so happy that this year, I can. Hey, even handmade card designers have problem sending cards to their loved ones, I kid you not! Hahaha!!

Do check out the video of the card below so you can view how to flowers pop up inside the card. Enjoy!

Thứ Sáu, 1 tháng 5, 2015

Double star loop flower pop up birthday card

 HB122

The pop up craze and cross-stitch continues. Not to mention the washi tapes and soft clay too. I guess, you'll be seeing those things a lot in my future designs.....well at least for the next few weeks until I get a little bored using them for my handmade cards. Hehehehehe!!

I've been making a lot of the smaller size cards lately and for today I wanted to share a bigger one for a change. It's not that big though, just half the size of an A4 paper. I started with sewing the cross-stitch all around the edge of the card to form a frame for the decorations. I used 4 different types of red colour embroidery threads. I love the effect it gives compared to using just one type of colour.

The polka dots washi tapes was then lined up with the patterned papers, birthday sentiment, quilled flowers and leaves, and lastly touched up with the rhinestones. I made those double star loop flowers long time ago. But only now do I use them for my design. The flower itself is so tedious to make. Takes such a long time to complete one flower. I guess that's why I never used them before. I do have a tutorial on how to make them if you are interested to try. Check out the video below:


I've always wanted to make this type of pop up technique for my cards. It's not that difficult to make either. I like it a lot because I can paste so many flowers together and not worry about any of them bumping into each other whenever the card opens and closes. Basically, you can use all sorts of subjects to pop up with this technique. I'll definitely make more of this type of pop up in future now that I know how to do it. :) Do check out the video of the completed card at the video below and see how the pop up flowers spread open like a fan when the card opens up. Hope you all like it! :) Enjoy!

Thứ Hai, 23 tháng 3, 2015

Love you forever Baby

V064

As you can see I haven't been blogging much. I'm taking a break from work to concentrate on my health for a while. But recently I got a request and sometimes it's difficult to say no. So I did it anyways. Just this particular one. I would probably make other card designs in months to come but it would be something I would do because I love doing it in my free time and not because someone asks me to. Crafting keeps me sane. I heard it does for a lot of people. It makes us happy in ways we never thought it could. Agree? :)

This card is a combination of some of my older designs. A bit of this and a bit of that from a few of my handmade card designs and they all came together in one card. Personally I wouldn't have had it combined this way but since it's a request, so I just did my best to make it look good. Combination of colours have to match too and therefore certain designs with certain colours had to be changed to fit in.

You could see that I wrote most of the text on the card and also inside it because the person requesting it loved my handwriting so much. It can be a little tricky to write on the card because you can't afford to make any mistakes. One mistake means that you would have to redo the whole card. Scary! 

All the pop up envelopes have a tiny card in them with short messages. I think that adds an element of surprise for the receiver. I used to put only one tiny card in one of the envelopes but this time around I was requested to make 3 tiny cards with messages she came up with herself. I appreciated the new ideas from her and will try it if I think it suits the card. 

Another tricky thing was writing the glittered text on the die-cut heart shape paper. Can't afford any mistakes there either. But I love the texture and how it glitters when it hits the light.

It was nice to do quilling again and I must say making pop up cards is always a pleasure. I seriously need to make more of it so that I won't lose the skill I gathered over the years. I'm praying that I have the strength to do so soon. How I miss doing it all....it was really fun. :) Till then, do enjoy the video below. 


Chủ Nhật, 15 tháng 2, 2015

Quilled lanterns on CNY cards


I wanted to make some Chinese New Year cards for my neighbours this year. I didn't have time to make complicated and overly fancy cards for them this year, therefore I opted for something really simple and fast to do. So I decided to make these quilled lanterns. It's the first time for me to make them. They are not that difficult to make too.

I made two types, one vertical card and the other a horizontal one. The horizontal one has pop up cherry blossoms inside it. I haven't been making new pop up card designs for quite a while now. It was great fun making them this year. Really thrilling even though it was a simple one :). Gosh...I'm so easy to please hahahaha!!


You can view how the cherry blossoms pops up inside the card at the video below. :)


Thứ Ba, 6 tháng 1, 2015

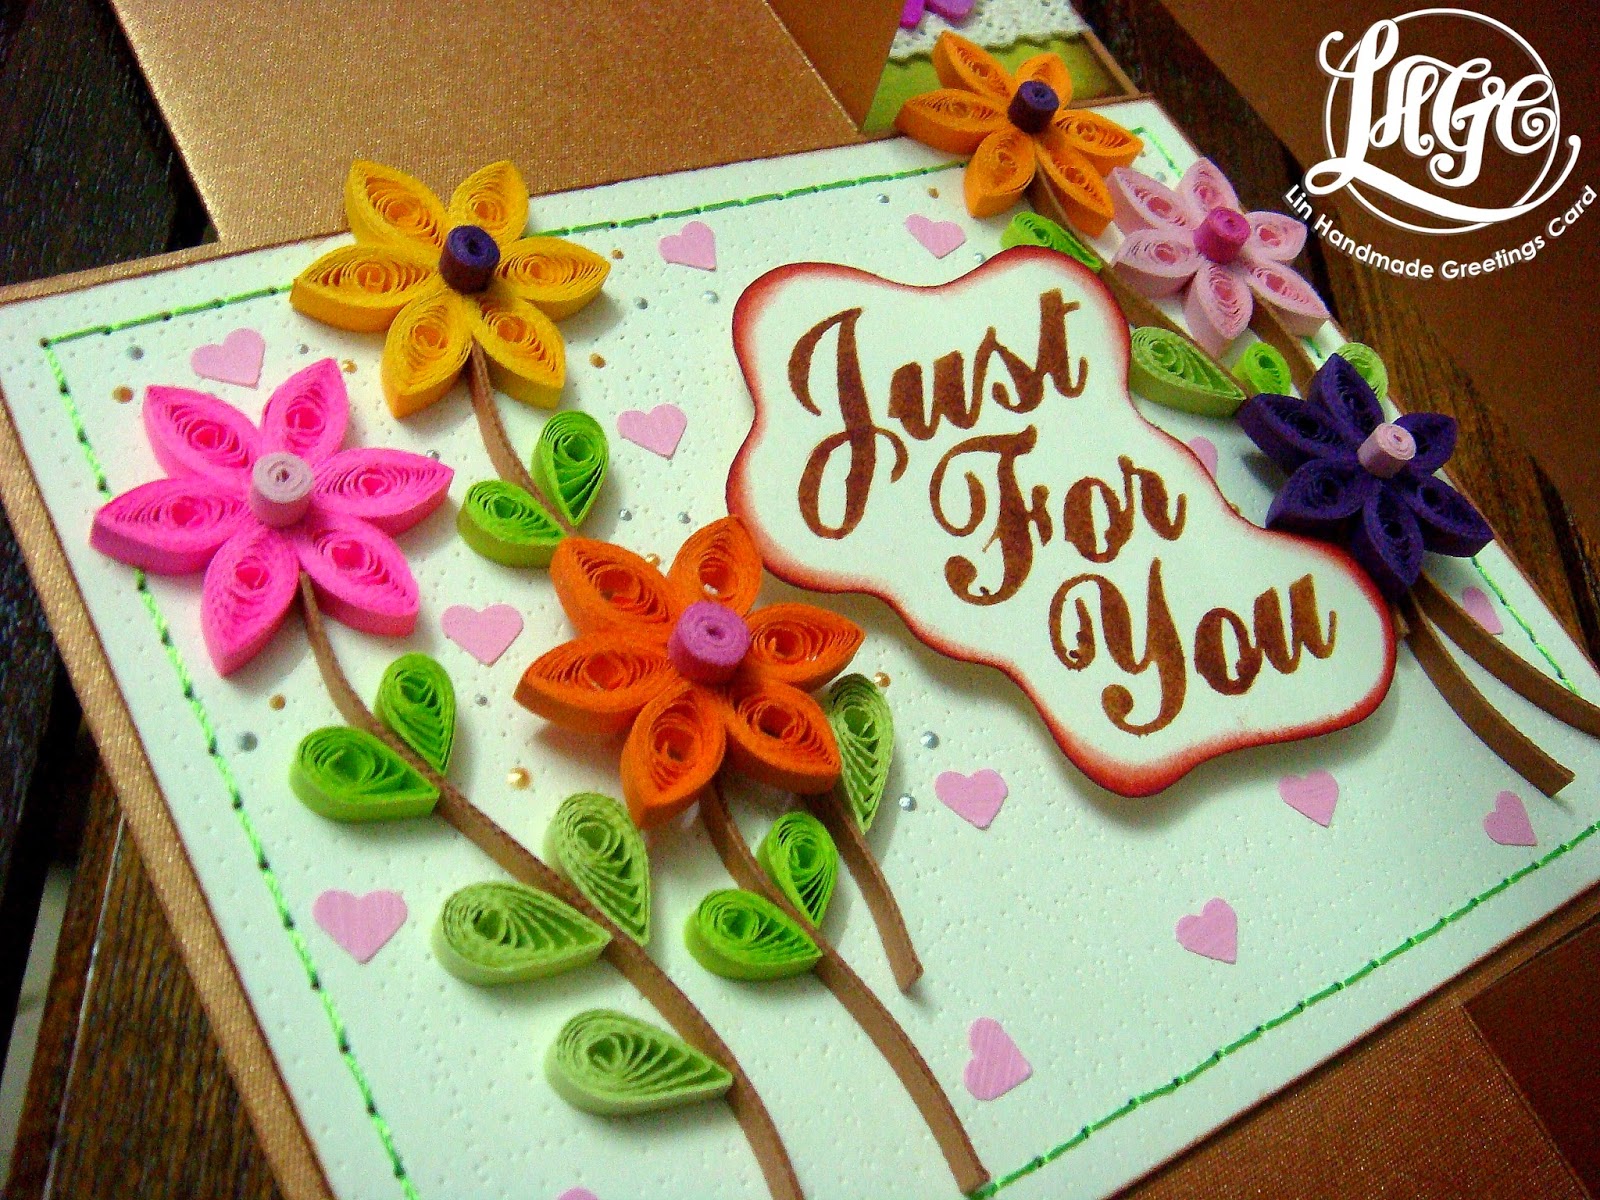
Just for you on this new year :)


Hope it's not too late for me to wish a very Happy New Year to everyone!! How's the new year been for everybody so far? Really good I hope....at least for me it's been a good start. I want to do my best to focus on good health and enjoying life as it comes. Don't want to stress myself too much. Last year was a really stressful year for me. So for this year, hopefully, more fun will come my way :D.

It's been a while since I last posted a handmade card design on this blog. I kept posting too much of handmade books. So I'm excited today to share a new card design here for the first time this year. It's a simple swing card design with a simple quilling flower arrangement on the front cover.

I haven't been quilling that much last year. Just some small projects done on quilling because most of the time I would be spending on making quilling starter packs instead. So it was a little exciting to do the quilling flower arrangement even though it was a simple one.

I love the huge wooden button because the design on the button was perfect for the pattern paper I chose for the card. It was a perfect match! It's not always that you can find two patterns of different material that compliments each other really well. So I had to add that button to the card. :)

I really like the olive green colours and how it combines really well with brown and other warm colours of the pattern paper. It gives a warm fuzzy feeling to it. This card can be used as a birthday card or a card for any occasion for that matter. And quite suitable to be given to a girl or a lady :).

More cards coming soon in shaa Allah......:)