Hiển thị các bài đăng có nhãn Swing card. Hiển thị tất cả bài đăng

Thứ Sáu, 24 tháng 4, 2015

On Your Wedding Day swing card

W019

Initially, I didn't intend on making a wedding card. I wanted to make a birthday card. But when I was decorating the lattice on the card, I suddenly visualized a couple of butterflies resting on it and then it struck to me that the card would be suitable as a wedding card instead.

You know how much I love swing cards by now as I have been making a lot of them for the past couple of years. And one of the things that I've always wanted to do is to do a lattice pattern on the mid section of the card. Since I don't have any die-cut patterns of lattice or anything of the sort that looks like it available at hand, that means that I had to make one myself. So the simplest way of doing it is by drawing it on the card and cutting them out by hand.

I gotta say that I had fun cutting the lattice out and decorating it with strings and punched out shapes of flowers and leaves, although I do have another idea or a way of cutting it now by hand which I will try to do later on in future but I still love this lattice pattern just the same. 

I have always loved the Martha Stewart Monarch Butterfly pattern....but I rarely use the butterflies on my cards. So much so that I thought it was a waste to have bought it and yet I don't always use it. I definitely need to use it more often. So for this card, it was really suitable for the butterflies and so I added a pair of antennas to each of the butterflies since they didn't have any.  I loved how they turned out in the end.

There are a lot of bling bling on the card itself......inside out. Anywhere I thought it would be suitable, I would paste them.  I'm having fun with them! Will use more of them in other cards soon. They are so fancy schmancy! Hahaha! :D Do check out the video of the card below. You'll be able to see how the lattice swing around with the butterflies :).


Thứ Ba, 20 tháng 1, 2015

Love themed birthday swing card

HB119

Another swing card design for this month. It's a birthday card this time. A lot of dark red and green combination with this one. In fact I think there's quite a lot of red going on here! hehe!

I wanted to use the big wooden flower bead that I got last year as the focal point of the card. The one and only stock I have! haha! I guess this card is a combination of a lot of things that are limited in my collection. Some were given....some were bought. The ones that were given, was kept for quite a while with me because I adored them too much to use them..... But I can't keep them with me for too long ....I have to use them some day right? Otherwise, there will be too many craft stock inside my room and very little space left for me to do work there.

There were some parts of the card where I applied some molding paste. Flower patterns this time around seemed suitable since there are a lot of flower designs on the pattern paper itself. I enjoyed decorating the card using molding paste although it is quite a messy type of craft. But seeing the pattern formed on the paper somehow thrills me :D. Textures gives the card a different feeling. Hence, more molding paste artwork projects coming this year.

Played with a couple of clear stamps that I bought from Popular Bookstore. They seem to sell a lot of new cool designs there now. Super cheap too! I couldn't resist buying them every time I visit the shop. In fact I just bought some new ones yesterday. Ooooppppps! There goes my budget this year!! LOL! They also sell a lot of pretty acid free pattern papers. Very affordable as well. I like that very much!! :D Hope it stays that way for a long time hahaha!

Thứ Ba, 6 tháng 1, 2015

Just for you on this new year :)


Hope it's not too late for me to wish a very Happy New Year to everyone!! How's the new year been for everybody so far? Really good I hope....at least for me it's been a good start. I want to do my best to focus on good health and enjoying life as it comes. Don't want to stress myself too much. Last year was a really stressful year for me. So for this year, hopefully, more fun will come my way :D.

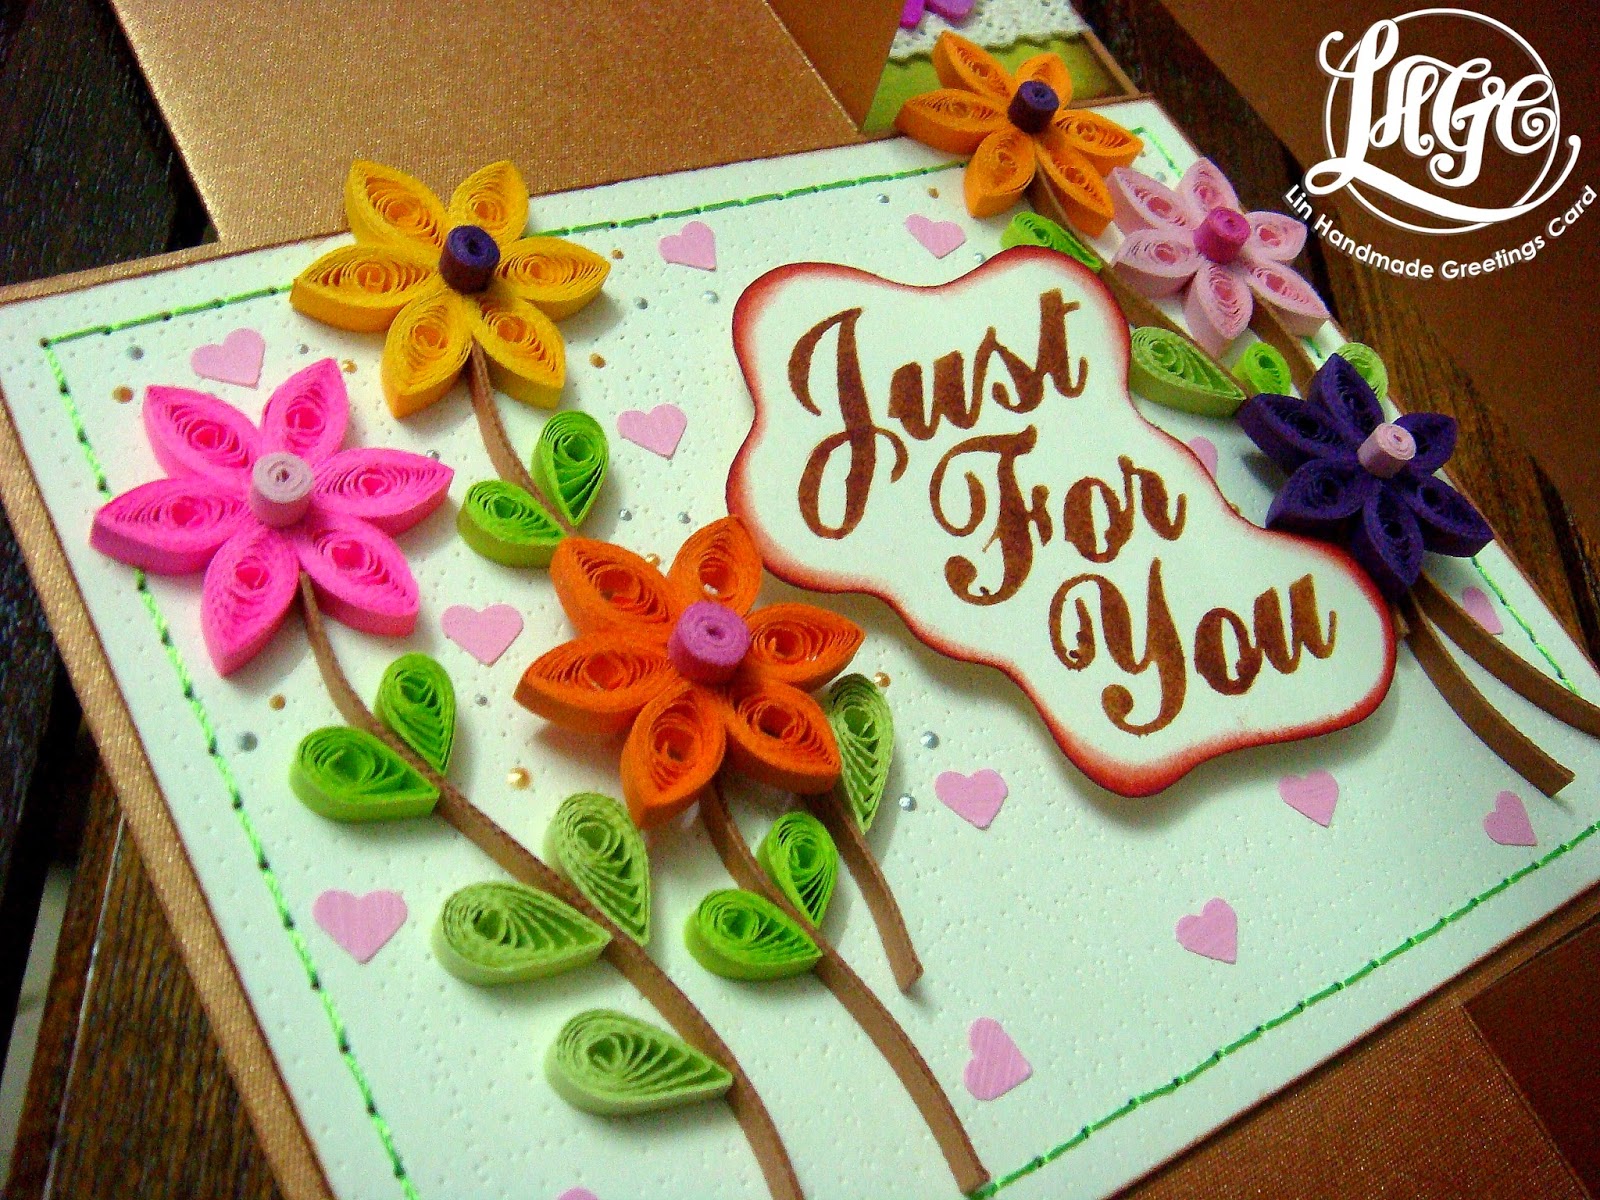
It's been a while since I last posted a handmade card design on this blog. I kept posting too much of handmade books. So I'm excited today to share a new card design here for the first time this year. It's a simple swing card design with a simple quilling flower arrangement on the front cover.

I haven't been quilling that much last year. Just some small projects done on quilling because most of the time I would be spending on making quilling starter packs instead. So it was a little exciting to do the quilling flower arrangement even though it was a simple one.

I love the huge wooden button because the design on the button was perfect for the pattern paper I chose for the card. It was a perfect match! It's not always that you can find two patterns of different material that compliments each other really well. So I had to add that button to the card. :)

I really like the olive green colours and how it combines really well with brown and other warm colours of the pattern paper. It gives a warm fuzzy feeling to it. This card can be used as a birthday card or a card for any occasion for that matter. And quite suitable to be given to a girl or a lady :).

More cards coming soon in shaa Allah......:)

Thứ Tư, 28 tháng 5, 2014

Congratulations on your wedding

W018

I got butterflies in my stomach and somehow it got transferred on to the card ;). I rarely put butterflies on my cards but for this one it just seems so suitable and I couldn't help but adding them along side the focal point of the card which is the heart shape paper doily that I got from WholePort. 

I've been wanting to do this type of swing card for the longest time and I'm super excited about being able to get it done in the end. It's a see-through type of swing card! hehe! Peekaboo! :D


I used the Yellow quilling paper strips from WholePort to make the quilled heart. I'm getting used to using the 5mm quilling strips....it's not that bad after all. But of course the 3mm type is my personal favourite.


Ok! Sewing on paper like this is therapy for me lately. I just love doing this technique. Not sure if I'll ever get bored doing it one day though. For now it's just bliss!! Even better when using the embroidery thread :).

I also love the lace I used to decorate on the front part of the card. I got that one from WholePort too. I'm just using up all the products I got from them. Fun playing with all the goodies. ;)


Thứ Ba, 27 tháng 5, 2014

New Baby Girl swing card

NB011

A combination of the old and new indeed. Because for this card, it has at the front part of the card, a newborn baby girl design that I did long time ago. The only difference is the material used for making it. In the previous design, I made it using foam sheets but for this one, I used felt. You can see below how I sew the eyes with a dark brown thread for the little baby.


The card has a few 3D fancy stickers on it which is in my opinion is so cute! I got them at Tesco. They are not that expensive and the design is lovely. I couldn't help myself from buying it. I do have a similar design for new baby boy too. So I will definitely use them soon for another new baby card.

 I love the off white floral lace trim from WholePort.....it looks really cute combined with the colourful pastel buttons. I didn't use a lot of items from WholePort for this card, just the lace and the embroidery thread for sewing the felt and paper. I just love using the embroidery thread. The colours are so pretty and it has a shine to it that makes it looks so fancy. Easy to sew on paper too. :)

Overall I had fun making this one. With a candy theme colour combination, it makes the card look sweet and warm. The Dymo embossing label maker was a fun gadget to use too for making the wordings for the card. I kinda enjoy using it nowadays. I guess I need to get more colours too as I only have black and red colour labels at the moment. ^.^

Do check out the video below of the card in motion.....I love the sounds of the birds in the background chirping away so happily in the garden. I guess they were excited to see the card too hhihihiihihi!! ;D


Thứ Hai, 26 tháng 5, 2014

Selamat Pengantin Baru

W017

I was requested to make this wedding card and I couldn't be happier about it because it's a little different from what I've done before. Every time I create a new card, I try to either implement something that I've tried before and make it better or I use a new technique or material.

For this card, it's a combination of all that and I'm pretty happy with the outcome. It's been a while since I last made those quilled love birds too. Every time I make them, they'll turn out a little different because it's handmade. So it's bound to have a character of it's own. First time ever to have them on a swing card too! Weeehooo!!


This is my first time trying out one of the packs of quilling paper that I got from WholePort. It's smooth on the sides and it's a bit wide, which is about 5mm in width and the length is about 54cm. It's called the Rose Red Quilling paper.  This is my first time using a 5mm quilling paper too. Usually I just use the shredded A4 paper for my quilling projects. And the width is usually about 3.5mm.

It's the first time for me to quill using my new beads slotted quilling tool too on my new card. It may not be the best quilling tool to use since it's handmade, but it does function as a quilling tool and I was able to make those quilling decorations on the card using it. So I'm quite satisfied with it so far:).

I managed to use a few of the brass charms that I got from WholePort too. The latest one I got is that love pendant. It's really pretty....love how it looks on the card. You can check out the pendants at the links here:
1. Believe in love charm
2. Live your dream charm
3. Love pendant

I gotta say that making swing cards nowadays is a must for me. I just love them so much. I do miss making pop up cards though. It's something I seriously have to think about doing in the next few months. I do hope that I'll have time to do all that I wish and miss so dearly.

Do check out my video here.....I took a video of the card so that you can view how the card swings in motion. ;)


Thứ Năm, 3 tháng 4, 2014

Green flora theme swing card

HB117

Hmmm where do I begin? I guess it's been a while since you last saw any new handmade card designs from me....the last one was probably the swap card I made for a fellow crafter last month. I've been busy making hand-bound books instead of making handmade cards. It felt a little difficult to start creating cards again because I left the arena for quite awhile to concentrate on other projects that involves mass producing craft materials for sale. Well, I've put that one aside for now so that I can concentrate on making cards again. I miss creating cards....I really do.

My customer gave me the freedom to design the card anyway I like except that there were a few conditions which was she wanted the card to have some quilling designs on it and she would prefer the card to have a green theme. So green it is!! It's 90 percent green and 10 percent, a combination of brown, gold, beige and yellowish tones.

It's been awhile since I last made any quilled flower like the ones you see on the card. I adore it very much. I hope to make a video tutorial on how to make them soon. Because I am afraid if I don't, then one day I might forget how to make it altogether! hehe! When I wanted to make them for the card, I had a hard time remembering how to start! Thank God I remembered it in the end after a few trials. ;)

Oh ya....not forgetting those ladybugs! They are so much fun to make. So cute. I will do a video tutorial on that as well this year. Gosh, so many video tutorials that I wanna make. Hopefully I can do them well :).

Oh! And another thing I would like to mention is those die-cut leaves.....oh how I love them so.....it's actually one of the three leaf patterns from a die-cut I recently bought when I went for the craft gathering. It's so worth it. It's a bit difficult to use but I can't help but love the design. So it didn't matter much to me. I'll learn to deal with it in time. 

I made a simple design for the wordings on the front of the card.....not much designs there....just arrangements of alphabets and liquid pearls on paper that was layered with distress ink. I love sewing on the paper to give it a more special touch.....that's why I also did the same for the paper that was meant for writing wishes inside the card. I really love that one. A special stencil that I bought to get that special shape....inking the lines and sewing around it in the end. It was fun to do!

All in all, this was a fun card to make, especially since it is a swing card. You can never feel bored with a swing card. ;)

Have a look at how the card swings in motion in the video below: