Chủ Nhật, 15 tháng 2, 2015

Quilled lanterns on CNY cards


I wanted to make some Chinese New Year cards for my neighbours this year. I didn't have time to make complicated and overly fancy cards for them this year, therefore I opted for something really simple and fast to do. So I decided to make these quilled lanterns. It's the first time for me to make them. They are not that difficult to make too.

I made two types, one vertical card and the other a horizontal one. The horizontal one has pop up cherry blossoms inside it. I haven't been making new pop up card designs for quite a while now. It was great fun making them this year. Really thrilling even though it was a simple one :). Gosh...I'm so easy to please hahahaha!!


You can view how the cherry blossoms pops up inside the card at the video below. :)


Thứ Ba, 3 tháng 2, 2015

Hand-carved rubber stamps


I remembered, way back in 2009, a good friend of mine gave me a set of carving tools for me to use to make my own rubber stamps. I did gave it try on an old and new rubber and gave them a new life. I posted some photos of them back then at my personal blog. You can view the posts at the link HERE and HERE. I did made more after that but I stopped carving rubbers until just recently. Somehow, the mood to carve came and I just couldn't stop! I can't believe that I've been keeping the carving tools and rubbers for the past 6 years!! OMG!! I felt so bad for neglecting them :(.

I guess the thing that triggered me to make my own handmade rubber stamps now is my need for simple stamp designs for my own handmade cards. I really need something simple but I can't find them at the craft store. Another reason is of course the price. I think it's better for me to try making them myself since the designs that I wanted are quite easy to do. 

I just start with something easy and who know perhaps in future I will be able to make complicated ones. I have doubts about that since I have shaky hands. It's not easy to carve when your hands are shaking. It's a real challenge.


I love making stamps like the ones I made above. Simply because they are the easiest type to make! Playing with the positive and negative space in a design is fun! And when carving a rubber stamp using a design that has a lot of negative space is much easier compared to the ones with a lot of positive space. And I love carving out the positive space and just holding them on my fingers as they are just so cute!!

The ones below are the type of designs that has a positive image. They are a bit difficult to carve out. Really tested my patience but it was a good experience nonetheless. I just need to focus more and be gentle when carving them.


Of course this won't be the last time I carve rubber stamps. There will be more to come in future in shaa Allah. As long as there is a need, then there will be time for me to make them. This is just the beginning of a wonderful journey..... :).


Thứ Hai, 26 tháng 1, 2015

Green themed card in a box birthday card

HB120

This is my first new card in a box design for this year. Although I don't do anymore customized handmade cards, however, this design has about only 1% request and 99% freedom. My customer gave me the freedom to design this card for her hubby. Just knowing what his favourite colour is, was enough for me to know. The rest was up to me to decide.

I have done stripes designs a lot over the years when designing cards for guys. It's the most simple idea and the outcome is usually good. Especially when you combine a few colours together. In this case it's a combination of white background with, green and brown paper strips. He loves natural green and earth colours. And so that was how I envisioned the card to be on the outside. I cut the brown and green coloured paper and pasted them on the card one by one. It took me some time to arranged them together but I didn't mind because I love doing it.

However, on the inside, I made it a little cheerful because it's a birthday card, therefore it has to look fun and happy somehow....to create that festive look. I love how all those stars, wordings and all pop up when the card is opened. It gives you the feel to celebrate. And it's a good idea as well to pop up the wordings that way especially if you don't really have much to write for wishes. So all the wishes are already there for you.

I really loved playing with the clear stamps that I got from Popular bookstore. They are just the thing I needed for this project. The wordings fits perfectly like it was meant to be. They are so small and suitable to be stamped on the dialogue cut outs. I don't mind doing this again because it was really fun! :)


Thứ Ba, 20 tháng 1, 2015

Love themed birthday swing card

HB119

Another swing card design for this month. It's a birthday card this time. A lot of dark red and green combination with this one. In fact I think there's quite a lot of red going on here! hehe!

I wanted to use the big wooden flower bead that I got last year as the focal point of the card. The one and only stock I have! haha! I guess this card is a combination of a lot of things that are limited in my collection. Some were given....some were bought. The ones that were given, was kept for quite a while with me because I adored them too much to use them..... But I can't keep them with me for too long ....I have to use them some day right? Otherwise, there will be too many craft stock inside my room and very little space left for me to do work there.

There were some parts of the card where I applied some molding paste. Flower patterns this time around seemed suitable since there are a lot of flower designs on the pattern paper itself. I enjoyed decorating the card using molding paste although it is quite a messy type of craft. But seeing the pattern formed on the paper somehow thrills me :D. Textures gives the card a different feeling. Hence, more molding paste artwork projects coming this year.

Played with a couple of clear stamps that I bought from Popular Bookstore. They seem to sell a lot of new cool designs there now. Super cheap too! I couldn't resist buying them every time I visit the shop. In fact I just bought some new ones yesterday. Ooooppppps! There goes my budget this year!! LOL! They also sell a lot of pretty acid free pattern papers. Very affordable as well. I like that very much!! :D Hope it stays that way for a long time hahaha!

Thứ Bảy, 17 tháng 1, 2015

Winner of 2014 Year End Blog Giveaway!!!

I'm so happy to announce today the name of the winner of my 2014 Year End Blog Giveaway! Finally the day has come to make this announcement. Sorry it took me sometime to make this announcement. I had to check each entries to make sure they all followed the rules correctly :).

OK! So the lucky winner this time around is Miss Jean Carmel Fernandez!!! Congratulations!!!! You are the lucky winner!!! Do send me your details so that I can post to you the craft goodies. :)

Thank you so much to those who participated in my blog giveaway last year. I truly appreciate you sharing the giveaway with your friends and family and patiently entering each time. I wish I can give gifts to everyone but that's not possible unless I'm a millionaire hahahahahaha.....but I will try to give more this year. 

I have plans on doing giveaways probably each month if possible. I do like to make people happy by giving away craft goodies. Even though I don't have much to give, but still I would like to give whatever I can and share the happiness around. It doesn't take that much to make people happy :).

So, do stick around and watch out for more the "little giveaways" that will be coming your way soon! 

Lots of love,
Lin

Thứ Ba, 6 tháng 1, 2015

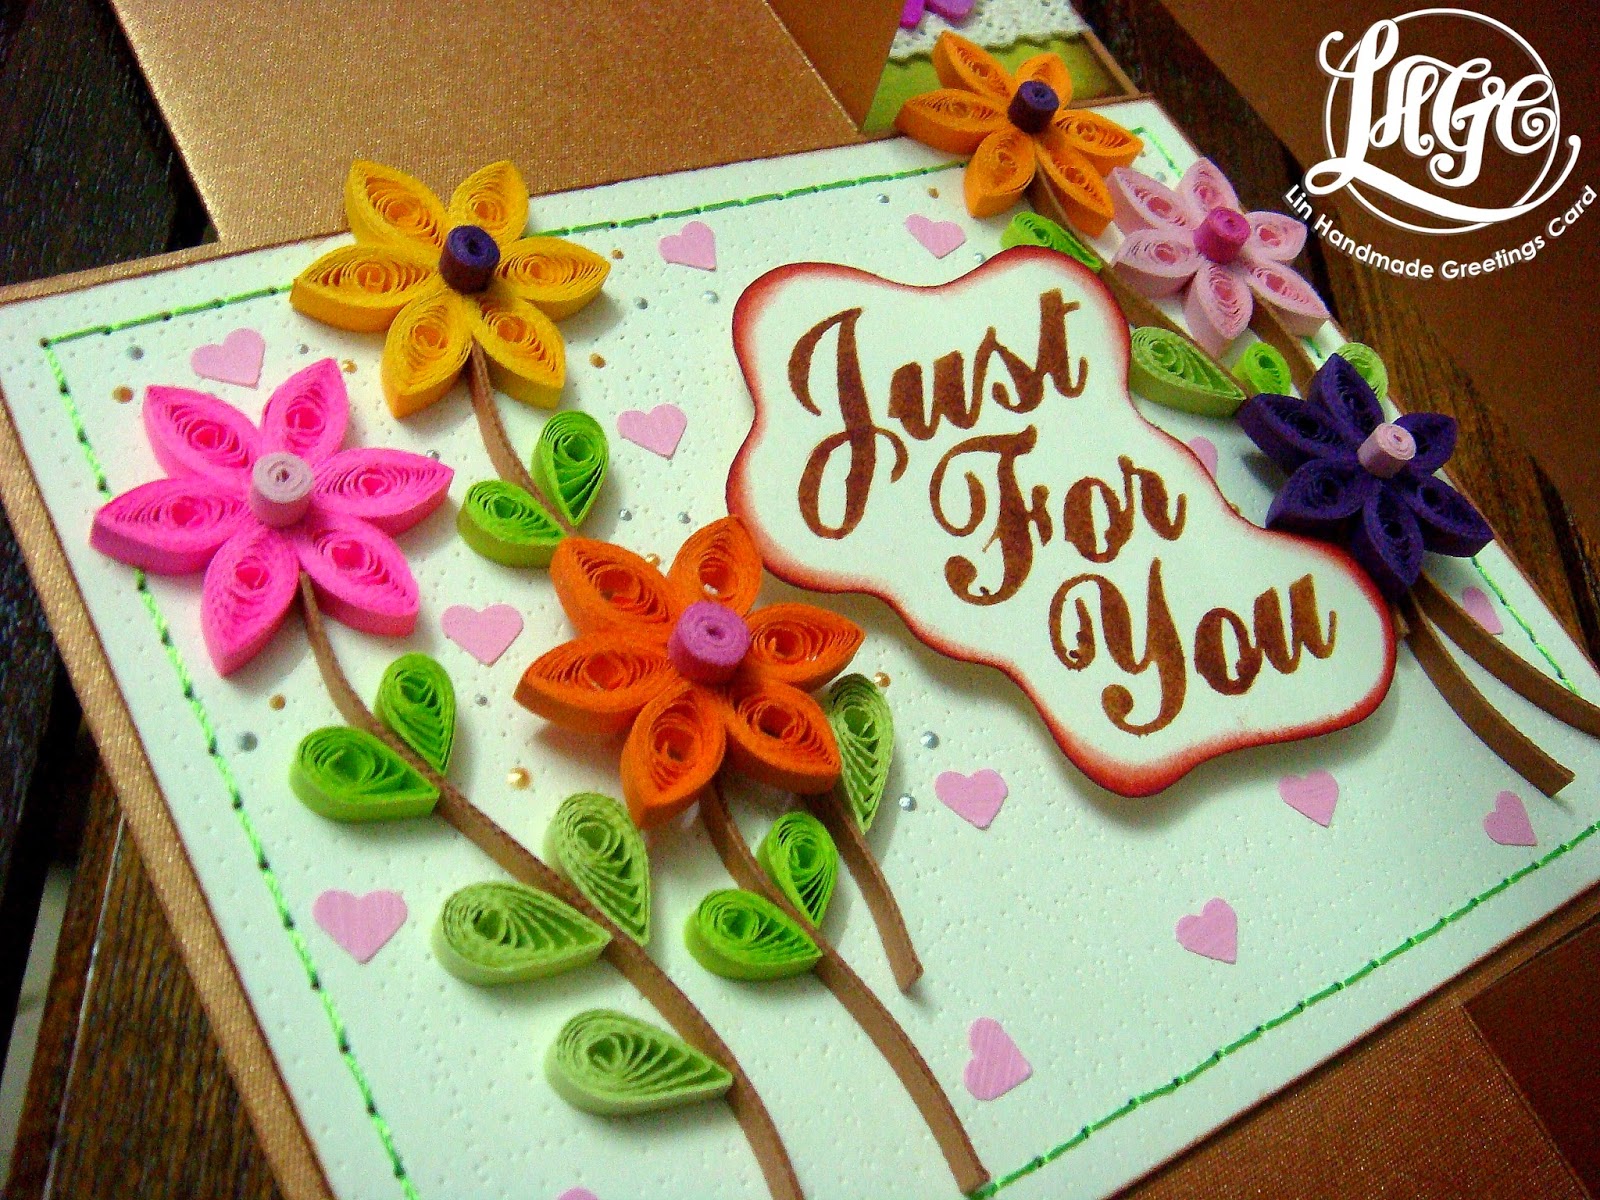
Just for you on this new year :)


Hope it's not too late for me to wish a very Happy New Year to everyone!! How's the new year been for everybody so far? Really good I hope....at least for me it's been a good start. I want to do my best to focus on good health and enjoying life as it comes. Don't want to stress myself too much. Last year was a really stressful year for me. So for this year, hopefully, more fun will come my way :D.

It's been a while since I last posted a handmade card design on this blog. I kept posting too much of handmade books. So I'm excited today to share a new card design here for the first time this year. It's a simple swing card design with a simple quilling flower arrangement on the front cover.

I haven't been quilling that much last year. Just some small projects done on quilling because most of the time I would be spending on making quilling starter packs instead. So it was a little exciting to do the quilling flower arrangement even though it was a simple one.

I love the huge wooden button because the design on the button was perfect for the pattern paper I chose for the card. It was a perfect match! It's not always that you can find two patterns of different material that compliments each other really well. So I had to add that button to the card. :)

I really like the olive green colours and how it combines really well with brown and other warm colours of the pattern paper. It gives a warm fuzzy feeling to it. This card can be used as a birthday card or a card for any occasion for that matter. And quite suitable to be given to a girl or a lady :).

More cards coming soon in shaa Allah......:)

Chủ Nhật, 14 tháng 12, 2014

Daisy stitch mini pocket notebook with butterfly motifs


This is the second time for me to do the daisy stitch mini pocket notebook. The first time was when my fellow crafter friend Asma' taught me how to do it during our craft gathering last February. But the one I did at that time was a little simpler than this new one because this new one wraps the pocket notebook and seal it with a string all around it.


It was a first time for me to use the curved needle too. Coincidentally I found it when I was shopping for beads at a craft shop. I couldn't resist buying it! I once saw a video tutorial on how to sew handbound books and the lady who was doing the demo was using this type of needle. It seemed easy for her to use it so that's why I had to give it a try and see how it works for myself. I love it. :)


Another different thing about it is how I decorated the cover of this mini pocket notebook. I simply used a thick cardstock for the cover which I normally would use to make cards with and I pasted on it as many paper monarch butterflies as I could all over it. I used the Martha Stewart Monarch Butterfly craft punch for this design and once I pasted all of them on it, I sort of covered them up with mold paste. Then, to make it a little more interesting, I used 2-3 types of distress ink to give it colour and character.

I loved how it turned out the way it did. It was a really fun project. I use the mini pocket notebook to write about my new healthy diet. Everything about what food I can eat and what I should avoid. I can carry it with me anywhere I go and keep it as reference in case I need it when choosing what to eat. It's handy and pretty too! :)